Last Updated on 02/07/2024 by Glynn Willard
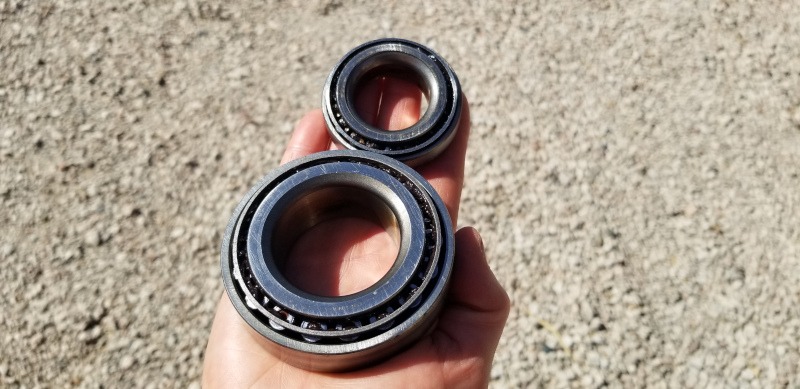
Bearings that show excessive wear should be replaced, period. This is not something that can be disregarded.
If you’re consistently repacking your bearings every 12-15k miles, you can tell if there’s abnormal wear. It’s inexpensive insurance to simply replace your bearings when in doubt.
We lost a wheel while boondocking when our outer bearings failed. Fortunately, it happened as we pulled into our BLM site rather than at highway speeds.
In fact, we had injected the EZ Lube Zerk valve on our Dexter axles 3000 miles prior to the debacle.
Do them by hand!
An Overview Of The Steps To Replace Travel Trailer Bearings
This is a quick overview of the steps we took and a good place to start for a basic understanding of bearing replacement.
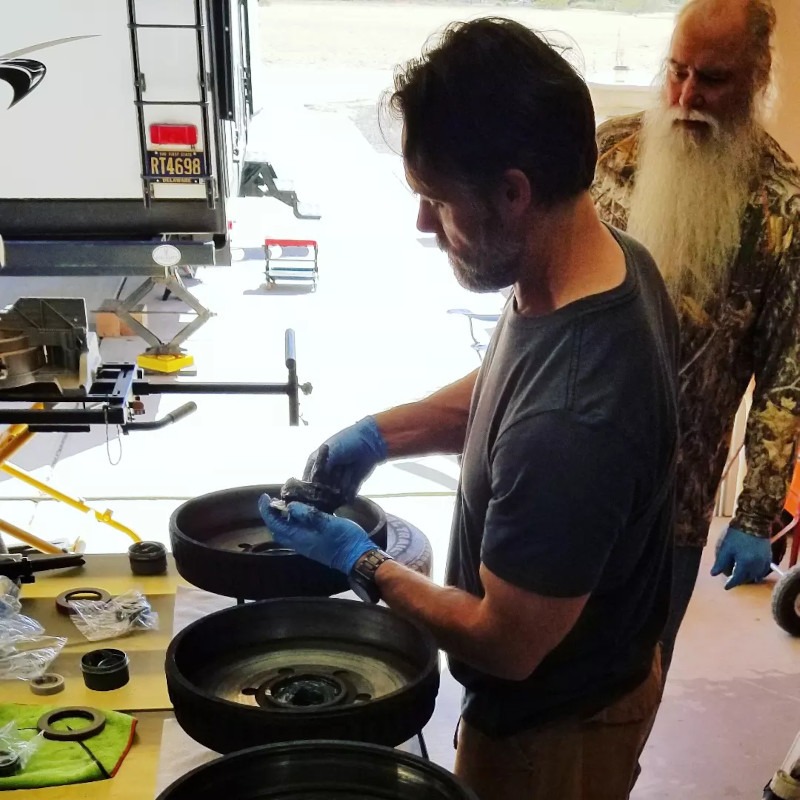
I recommend removing all the hubs at once and setting up an assembly line. This way, you’re repeating the same step four times before moving onward.
And it helps with clean up.
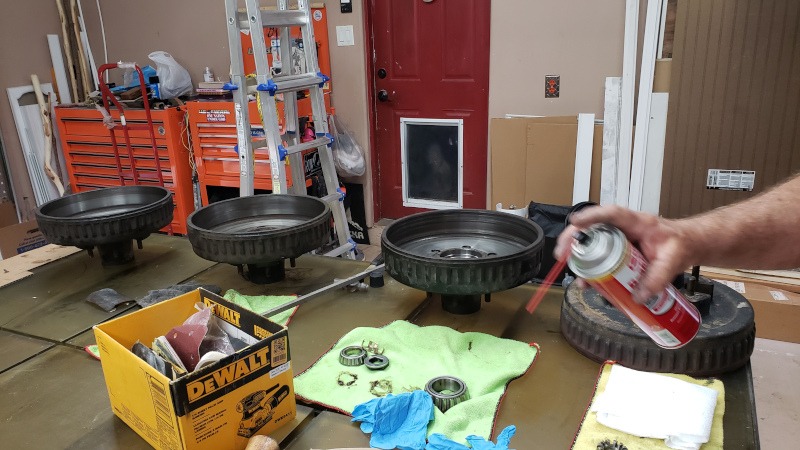
Assembly line of hubs.
- Once the tires are off, remove the keeper and axle nut.
Clean these and set them aside. Keep all the hardware with the same hub from which it was removed. - A swift hit to one side of the hub will loosen the bearings allowing for easy removal of the hub.
Again, set the hubs out in an assembly line with their hardware next to them. You’ll also be able to easily remove the front bearings. Set them out with their hub. - Remove the grease seal from the rear of the hub.
This can be tricky, but you should replace it with a new grease seal every time you service your bearings. Again, inexpensive insurance to remain safe. - Remove the rear bearings and set them with their front bearing set.
Do a light cleaning of the old bearings and check for wear. Keep the set or sets that show the least amount of wear as spares. Either fully clean and repack the spares or leave some old grease on them to prevent rusting. - Use a punch to remove the races (cups) from the hubs.
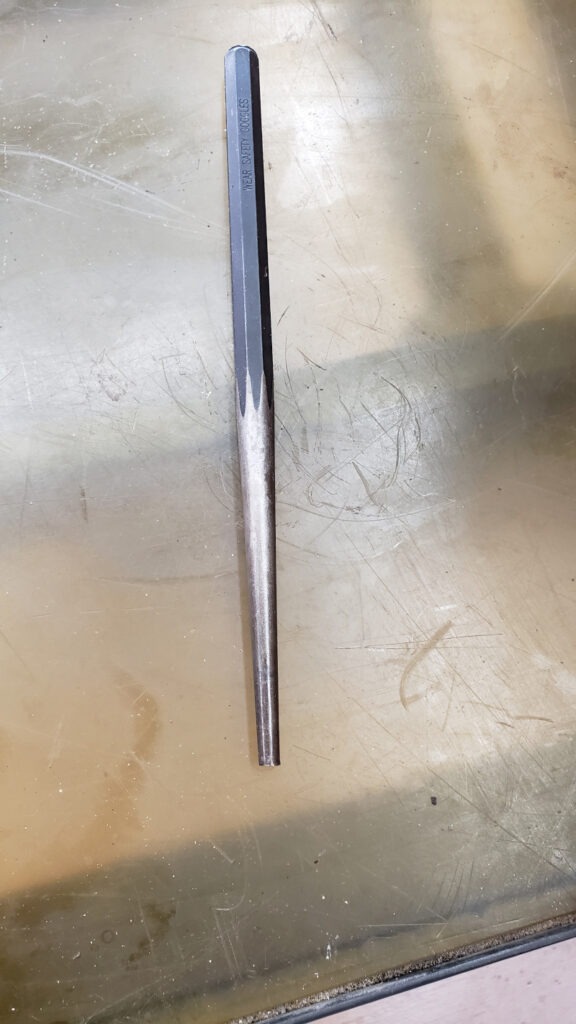
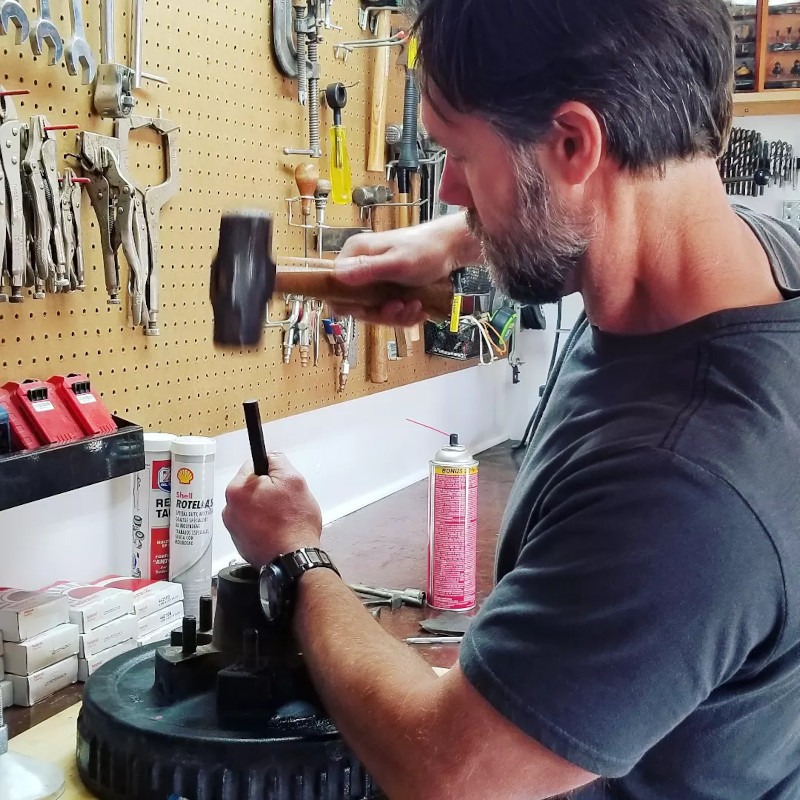
T 10″ punch we used to remove and install the races.
This is a tedious step that gets old quickly. But it’s not impossible. Clean the races that you’re keeping. Make sure you place the races with their corresponding bearings from the same hub. Place the set you’re keeping as a spare in the boxes from the new bearings. - Use brake cleaner to clean all aspects of the hub thoroughly.
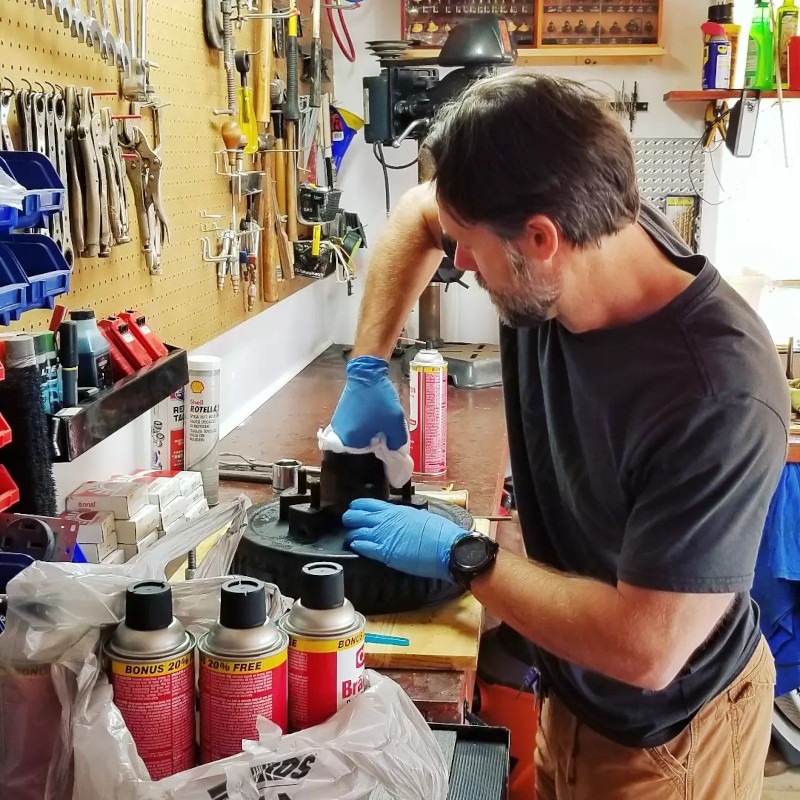
A thorough cleaning of each hub with brake cleaner.
Use an old toothbrush with brake cleaner to get into the tight spaces. - Install all the new rear races on each hub and then all the front races to minimize the risk of doing it improperly.
Make sure the races are inserted the proper direction and go in straight. This information is easy to find. Use the same punch you used to remove the old races to install the new ones.
Hit a different side of the race with every impact to ensure it seats straight down instead of going in at an angle. - Pack the new rear bearings with grease and set them into the hub.
- Install the new grease seal in the back of the hub.
Use a hammer and strong straight edge to install the grease seal, such as a short one by four. Anything that will apply even pressure to the seal will work fine. Finish all four hubs before moving on to the front bearings. - Grease the front bearings and set them into their races.
The hub is now ready for reinstalling on the axle, but there’s one more step. - Use brake cleaner to clean the brakes on each wheel.
This is a good time to inspect the brake pad wear and check for any grease that may have gotten into the brakes. Clean them thoroughly and check the mechanics of each brake. - Reinstall the hub and axle nut on the axle.
This is the crucial part. Using a torque wrench, set the axle nut to 50 foot pounds of torque to seat the bearings. This may be different for your brand axle, so check with the manufacturer.Once you reach the specified torque, back the nut off with a breaker bar (not the torque wrench). Then hand tighten the nut. Back it off 1/6 to 1/4 of a turn and apply the keeper.
Use a socket the same size or smaller as the keeper and a mallet to install it evenly and correctly.
- The hub should turn smoothly and there should be very little play in the hub.
- Install the tires and lower the rig off jack stands.
Removing the inner or rear race with a punch.
Installing the freshly packed rear bearings.
An Important Check To Do When Towing.
Make sure you check the temperature of your hubs every time you stop. Simply palpating each hub is sufficient. If one is a lot hotter than the others, you may have a bearing problem developing.
This is just a good habit to get into if you don’t have a TPMS that also reports temperature.
How often do you replace your bearings?
Happy and safe travels!
We appreciate any help we can get to bring you great content. Donate or buy us a coffee on our Ko-Fi site.