Last Updated on 07/09/2024 by Glynn Willard
Setup Checklist For A Travel Trailer
Skip the fluff and get right to the Checklist or go straight to the Checklist without the helpful hints!
I remember how intimidating it was to set up our trailer the first time.
It was WAY out of my comfort zone!
Maybe it’s out of your comfort zone and maybe not, but there’s still a process that should be followed for your travel trailer setup.
Let’s go over some clear helpful tips for the most important things to give some of you peace of mind.
Before you know it, you’ll ace it and be a seasoned Rver.
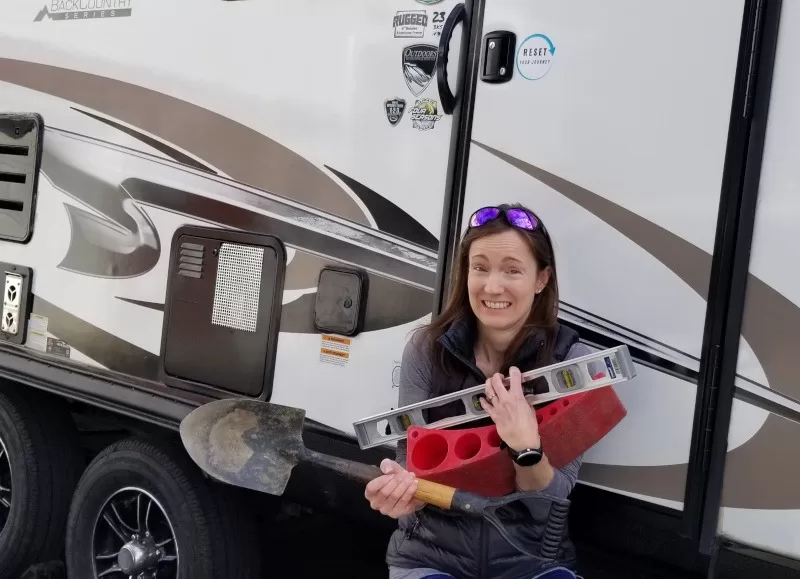
Travel trailer setup sometimes requires thinking “out of the box.”
First Things First For New RV Owners
Start practicing in your “safe place” if you’re an RV newbie. In other words, your driveway.
Not on your first RV adventure.
It’s a good idea to run through all the setup processes as well as familiarize yourself with sewer connection, water hose and power cords.
New RVers have enough to think about when they first pull into your RV campsite after a long trip.
If you’re already familiar with the systems and you some spent time reviewing this “solid RV setup checklist,” you’ll eliminate half your anxiety.
Not Sure What You Need For Your RV?
Travel Trailer Setup Checklist
This premade checklist of items can apply to setting up any RV or fifth wheel but is specific to a bumper towable RV.
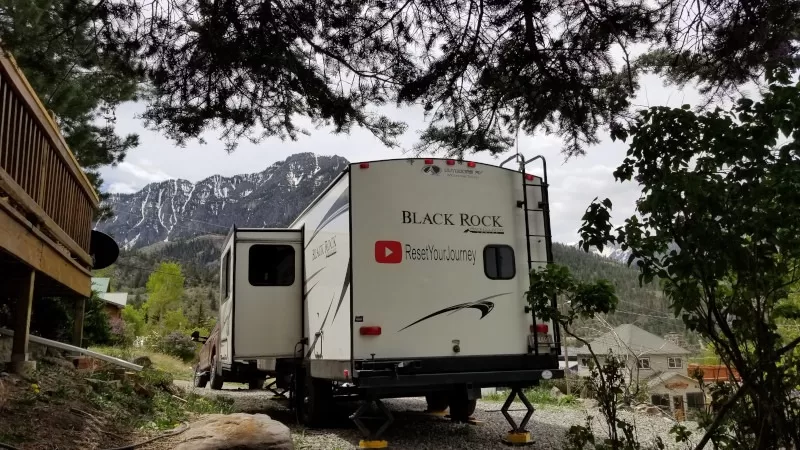
- Scout the area first regardless of boondocking or RV park.
- Position your rig: nose into the wind if possible.
It took us a while to figure this out, but it only took once facing the driver’s side into heavy winds to realize our mistake.While I’m scouting the spot, I check the wind direction and if the spot can accommodate the nose toward the wind, it’s a priority for positioning.
- Position the RV into the most level spot, moving as necessary.
Reposition your RV ever so slightly to find the most level spot.
This is where it helps to have a copilot watching the levels on the RV and signaling you into the most appropriate spot.Sometimes a foot to one side is the difference between using your levelers and leaving them in storage.
- Level the trailer manually side to side. If you have auto levelers, wait until you’re unhitched.
Leveling side to side can be challenging on a lateral slope.
It won’t take you long to develop your own system for leveling your RV side to side.I highly recommend becoming familiar with our article, 6 Easy Tips To Level Your Travel Trailer (On A Slope) before your next RV trip. It’s a helpful article.
If you have a slide, I suggest raising the side with a slide the slightest bit higher to counterbalance an extended slide.
It didn’t take me long to realize this is an ideal solution and start accommodating during the first steps of leveling the trailer.
Is it totally necessary? No, but I tend to be methodical and like a perfectly level RV.
- Set the tow vehicle emergency brake
Once you have the RV level side to side, set the emergency brake in your tow vehicle and immediately move on to the next step of chocking the wheels.If you’re leveling by yourself, you’ll set the emergency brake every time you exit your tow vehicle.
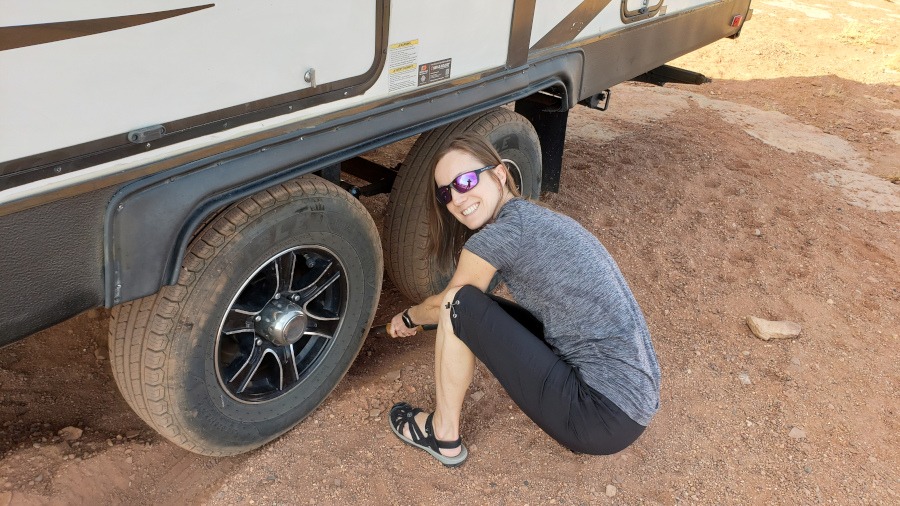
- Chock the wheels.
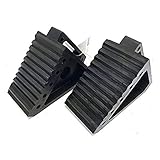
Check the level of the trailer front to back and place heavy-duty chocks against the direction of roll.We use both the chocks that came with our Anderson Levelers as well as the pictured chocks.
We’re very happy with how they’ve stood the test of time moving every seven days on average for two years.
- Remove safety chains and breakaway cable
Remove the safety chains and breakaway cable before removing the hitch from the hitch ball.In the beginning, I was so anxious to get the hitch off the hitch ball that I almost forgot to release the chains and started to move the tow vehicle.
That would likely have been a poor outcome. So to remedy this, I remove the chains first.
- Drop the tongue jack high enough to remove from hitch ball and weight distribution hitch if equipped.
Make sure the trailer coupler clears the hitch ball.
If you have a weight distribution hitch:
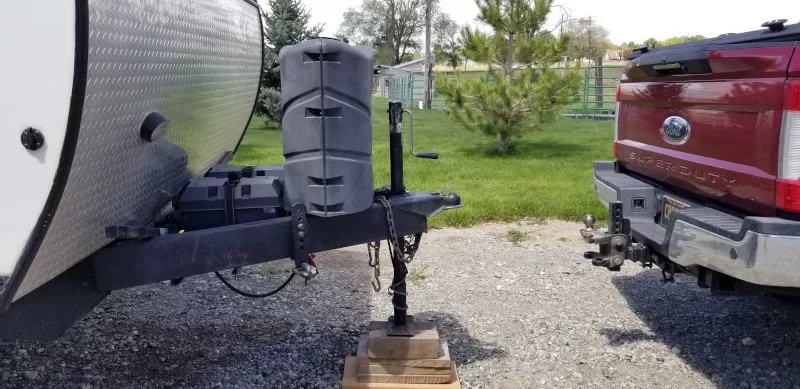
- If you use blocks, place them under the tongue jack. The less the jack has to be extended, the better.
- Lower the tongue jack far enough that it takes some of the weight of your tow vehicle.
This will make it easier to remove the spring bars from the sway control brackets. - Raise the tongue jack (it’s still attached to the tow vehicle), so there’s NO upward tension on the hitch ball, i.e., you’re taking the pressure off the tongue jack.
- Helpful tip: at this point take a moment to release the tow vehicle’s emergency brake and shift to neutral with your foot on the brake to release tension on the ball.
Then reapply the emergency brake.This will prevent the uncoupled trailer hitch from pulling the tow vehicle up if it’s hung up. Having the hitch drop off the hitch ball with force is not fun!
- Remove the hitch lock and uncouple the trailer hitch by releasing the coupler latch.
- Lower the tongue jack until the trailer hitch clears the hitch ball. Then move on to the next step.
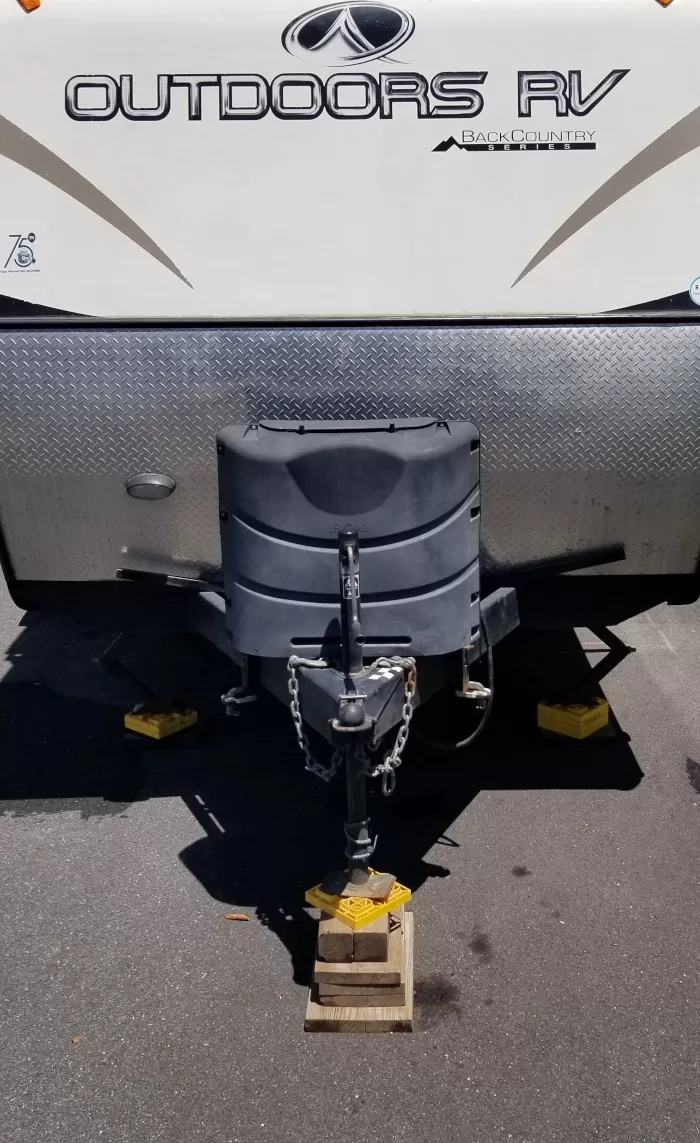
Use blocks under the tongue jack to minimize the jack extension.
If you DO NOT have a weight distribution hitch.
- If you use blocks, place them under the tongue jack. Again the less the jack has to be extended, the better.
- Start with the helpful tip above: take a moment to release the tow vehicle’s emergency brake and shift to neutral with your foot on the brake to release the tension on the ball.
Then reapply the emergency brake. - Remove the hitch lock and uncouple the trailer hitch by releasing the coupler latch.
- Next lower the tongue jack until the trailer hitch clears the hitch ball. Then move on to the next step.
Back to the steps:
- Pull the tow vehicle away from the trailer and park it.
This is self-explanatory.
- Level the trailer front to back
Use your bubble level and manipulate the tongue jack until the trailer is level front to back. - Check the wheel chocks and reposition as necessary.
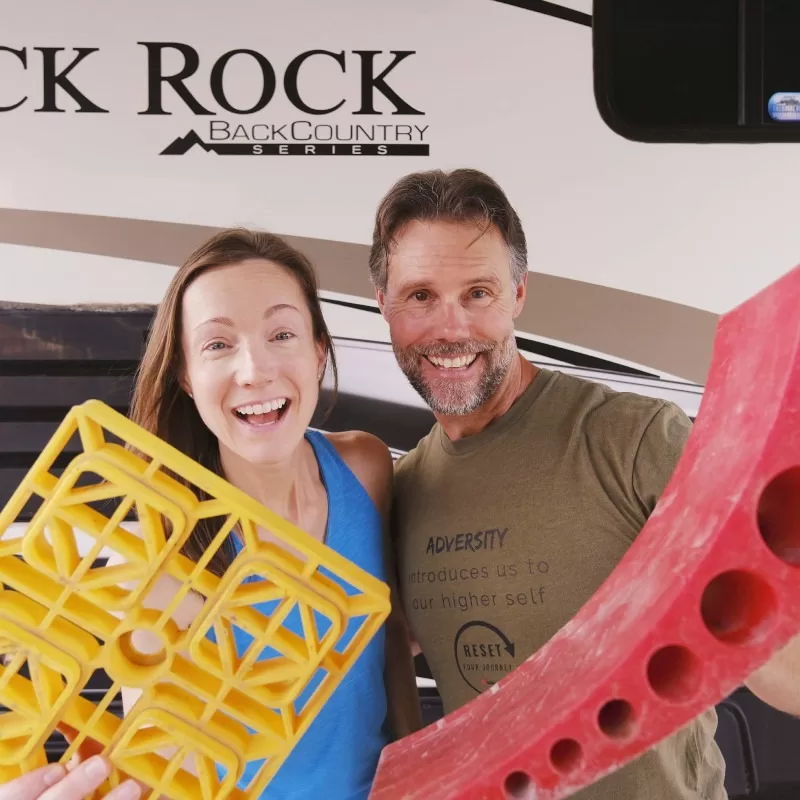
Sometimes the RV shifts away from the chocks. Make sure they’re still secure to the wheel before lowering the stabilizing jacks. - Drop stabilizer jacks

Recruit the troops to help with travel trailer set up.
Use blocks or leveling blocks (pictured) to minimize the distance the stabilizing jacks need to be deployed.If necessary, you can use the stabilizers to do some finite leveling by emphasizing more pressure on one side that need to come up a tiny bit.
- Lower the stairs.
Self-explanatory. - Slide out if equipped.
Make sure you have clearance and push out the slide or slides. - Take care of the electrical connections, surge protector, and sewer hookups if you’re at an RV park.
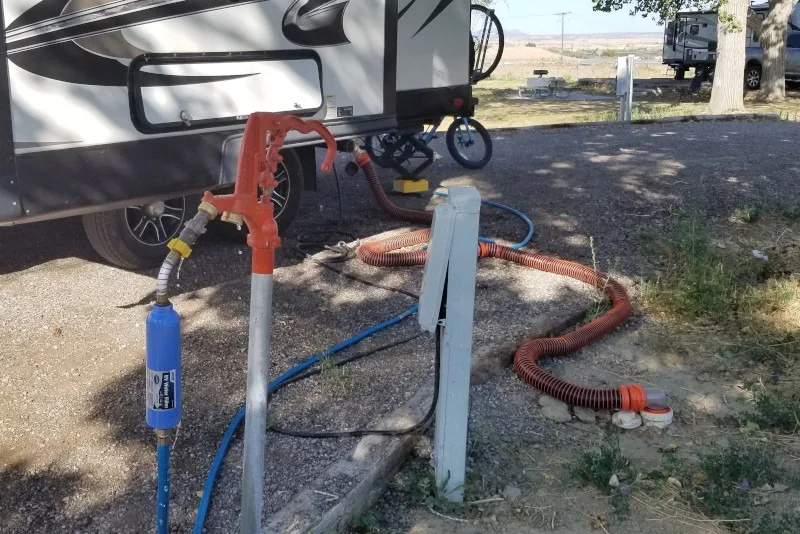
If you have full hookups, connect your camper to the shore power on the power pedestal. RV surge protectors are up to you.We never used one, but we spent most of our time boondocking, so the use of one was not applicable.
Connect the black tank and gray tank sewer hose to the camp sites sewer hook-ups.
- Connect your water line to city water with a water pressure regulator.
If you prefer to just use your fresh water tank, connect your water filter and fill it up.Since we RV full-time, we never use the city water in an RV park or state park. It allows us to keep the water cycled in our fresh water tank.
If you are boondocking, fill your water tank up along the way at a dump station (clean, potable water only) or before you leave your previous location.
- If you’re boondocking, turn water pump on.
If you’re attached to city water, no need for the water pump.If you’ll need hot water soon, this is also a good time to turn the water heater on.
- Arrange anything in storage in the interior the way you like.
- Enjoy your camp site!
Scout the spot and clear dangerous debris first.
Upon RV arrival, it’s always worth a few minutes to park in front of your RV campsite first thing and scout any debris, potholes or hazards.
You can also get a good idea of the most level location within the site and figure out the best way to position your trailer.


Travel Trailer Checklist Without Explanations
I staggered bold and italics to make it easier for you to follow the list.
- Scout the area first regardless of boondocking or RV park.
- Position your rig: nose into the wind if possible.
- Position the RV into the most level spot, moving as necessary.
- Level the trailer manually side to side. If you have auto levelers, wait until you’re unhitched.
- Set the tow vehicle emergency brake
- Chock the wheels.
- Remove safety chains and breakaway cable
- Drop the tongue jack high enough to remove from hitch ball and weight distribution hitch if equipped.
- Pull the tow vehicle away from the trailer and park it.
- Level the trailer front to back
- Check the wheel chocks and reposition as necessary.
- Drop stabilizer jacks
- Lower the stairs.
- Slide out if equipped.
- Take care of the electrical connections and sewer hookups if you’re at an RV park.
- Connect your water line to city water with a water pressure regulator.
- If you’re boondocking, turn water pump on.
- Arrange anything in storage in the interior the way you like.
- Enjoy your camp site!
Wrapping Up Travel Trailer Setup Guide

Proper travel trailer setup makes for safe and comfortable camping.
When you’re ready to move your trailer, check out our article: RV Moving Day Checklist
It will guide you through the RV departure checklist.
Yes, some of the photos above are affiliate links to help show what we’re talking about. And they help us at no cost to you. We appreciate it!
After several moves, you’ll have this list down pac.
Happy camping!
Meet the author.
We appreciate any help we can get to bring you great content. Donate or buy us a coffee on our Ko-Fi site.