Last Updated on 05/07/2024 by Glynn Willard
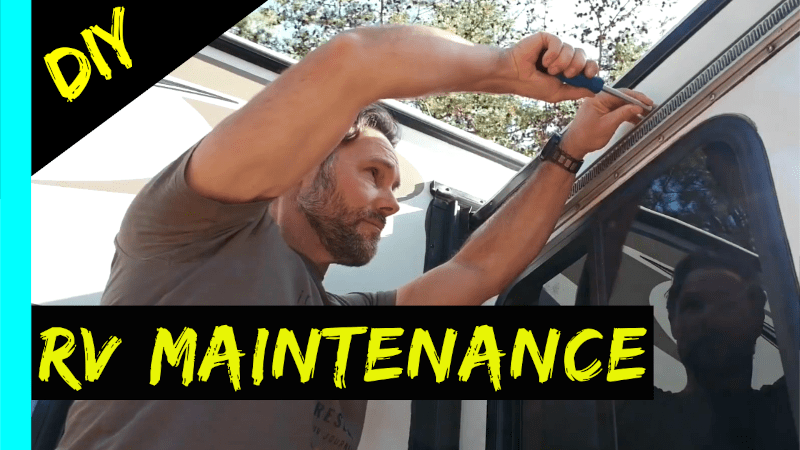
RV Maintenance Tips For The RV Owner
Travel trailer maintenance is more than just a good idea if you own one. To state the obvious, many RV problems can be prevented by following an RV maintenance checklist.
Living full-time in a travel trailer and frequently moving forced us to create a checklist for our RV for regular maintenance and annual maintenance.
We want to help you prevent any anguish and show you the best way to keep your travel trailer or RV out of the shop for avoidable problems.
The whole point of having an RV is to enjoy the next adventure, not focus on repairs, right?
Let’s get your RV into tip-top shape!
For those of you who prefer video instead, watch DIY RV (Travel Trailer) Maintenance | Full Time RV Living | RYJ
RV Maintenance Checklist
The following checklist may be specific to keeping a travel trailer in good condition, but most of the maintenance tasks can be applied as regular RV maintenance for any type of RV.
General Maintenance On A Weight Distribution Hitch
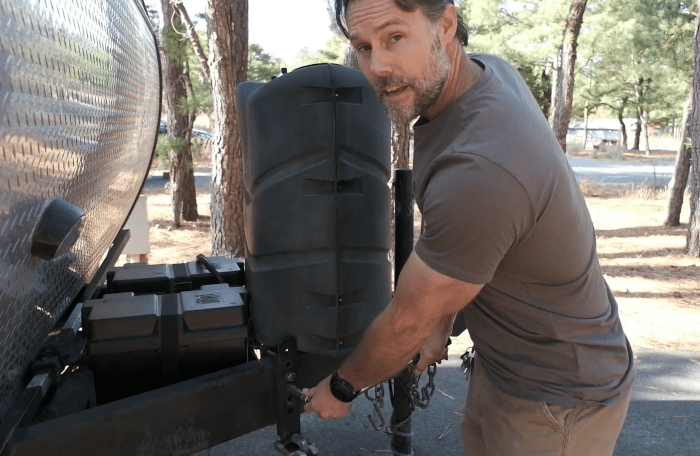
Weight distribution hitches come in different flavors, but they all have equal functions. In other words, I have to generalize.
Make sure your hitch is properly adjusted for your trailer. If you don’t know how, have it professionally done for you before your next trip.
Once it’s properly set, follow these maintenance steps for continued safe towing.
- Find all of the fastening bolts on the trailer’s frame as well as the hitch. Properly torque the bolts before every moving day. It’s simple and fits in with the rest of your torque checks.
- Lubricate any point that the manual suggests with grease. I use basic bearing grease. I clean any lubricated parts and add new grease every time we move.
- Lastly, visual inspections for signs of wear, cracks, or warping are also important to prevent dangerous situations.
Check Your Battery Terminals On The House Batteries
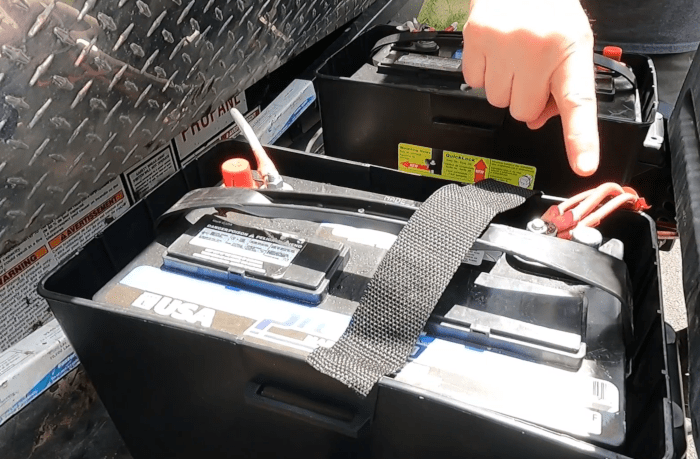
At least every six months, inspect, clean, and tighten the terminals on all your RV batteries.
If they’re lead-acid batteries and you see corrosion, use a baking soda and water mixture to clean the terminals.
If they’re lithium, do regular inspections to make sure the connections are tight.
This is also a good time to inspect any exposed aspects of your electrical systems for signs of damage on the interior and exterior of your RV.
While you’re at it, test each smoke alarm and all the carbon monoxide detectors.
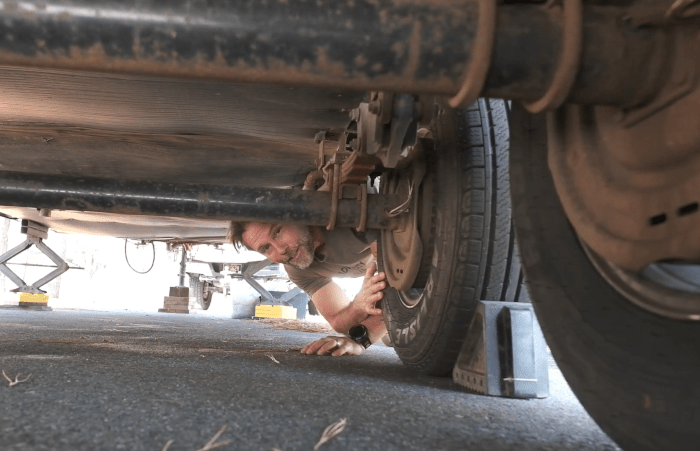
Check The Trailer Tires
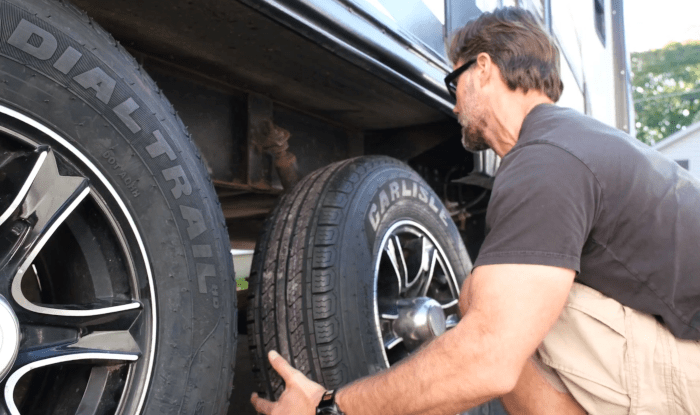
Technically, this should be listed first. Tires break down faster than any other part of a trailer regardless of whether you’re moving a lot or not.
Ignoring your tires can and will eventually lead to serious problems, costly repairs, uneven wear, or even catastrophe.
It’s good practice to know how much your rig weighs when it’s filled with your stuff as well as water.
Use the chart supplied online by your tire manufacturer to find the proper tire pressure for the weight of the RV.
The internet is plagued with arguments about tires. Don’t get caught up in it. Just use the chart and set the PSI appropriately.
Then watch your tires for wear and adjust the air pressure accordingly.
Also, take into account the current climate for the region in which you’re traveling as well as the terrain. If it’s hot, adjust the pressure down.
If it’s cold, adjust it up slightly.
If you’re running on rocky terrain, air down a bit.
The bottom line with PSI for your RV is that if you stay on top of it, you’ll start to figure out the right PSI for your driving habits.
Some might consider this overkill, but check all the tire’s PSI and correct it before every moving day. Early morning is best.
Don’t forget to incorporate the spare tire in this maintenance schedule.
Craving Video? Visit Our Channel

Test & Check Your Brakes
It takes very little effort to test the trailer or motorhome’s brakes for proper operation as you’re pulling out of your spot.
It’s great if you have an external trailer brake!
Go slow and apply the brakes hard.
If you feel any discrepancy, stop and figure out the problem. Ignoring it is not worth the risk on the open road!
Now for maintenance, remove your brake drums every three to six months based on your usage and inspect all the brake components.
On one occasion, I did this and found the automatic adjuster spring and adjuster disconnected.
It took some effort to return it to good working order, but at least it was reparable.
Had I not checked it on a regular basis, I would not have known since it’s a dual-axle trailer.
Making this a part of your RV maintenance schedule goes a long way towards peace of mind!
Check Your Trailer Bearings
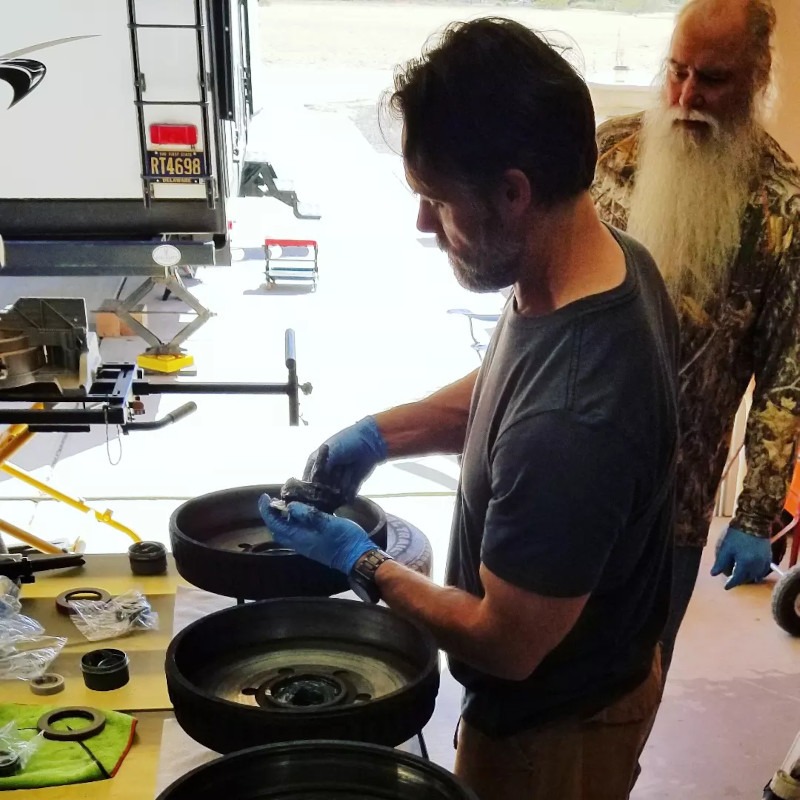
Steve mentored me on bearing maintenance.
This is a hot topic if you own a travel trailer. Especially for full-time RVers. Sadly, too many people ignore their bearings until it’s too late. I learned the hard way.
While you have your hubs off to check the brakes, check the bearings. Repack them every 10k miles. Replace them if they look gnarly in any way. If you’re repacking by hand, it’s just as easy to start with replacement bearings.
You can learn the detailed steps in our article about bearings, Trailer Bearing Replacement Overview
or you can watch the video:
RV Trailer Wheel Bearings Overview- REPLACE and GREASE PACK.
Bearing maintenance might just be one of the most important things when it comes to preventing mechanical failure!
Rotate Your Trailers Tires
Rotating tires on a travel trailer or a fifth wheel is easy. It will help evenly wear the tires and keep them in good shape.
Single axle, rotate side to side. Duel axle, move the front wheels to the back and the rear wheels to the opposite sides on the front.
If you find unusual tire wear on one particular tire, it might be worn-out suspension parts.
You can go down that rabbit hole here: Uneven Tire Wear On Your Travel Trailer? It’s Not What We Expected
and RV Unusual Tire Wear? | Axle Misalignment? | MORryde CRE 3000 Replacement Steps
Torque Your Lug Nuts
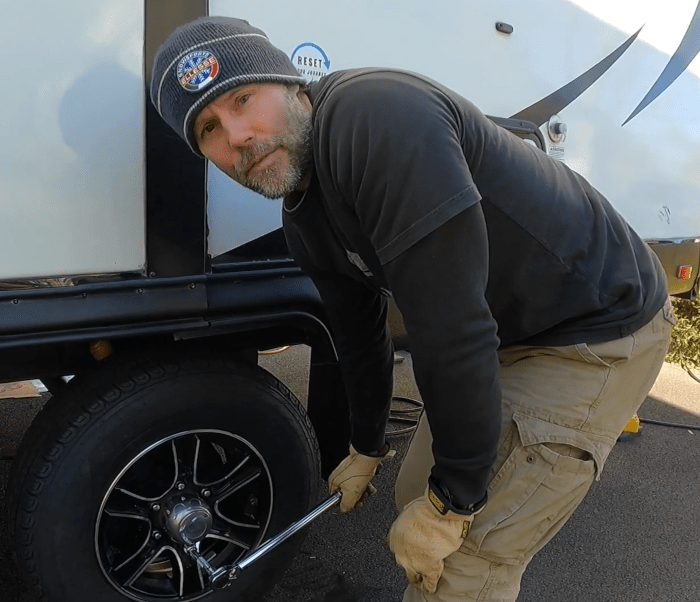
Get in the habit of torquing your lug nuts before every move. Overkill? Maybe, but it’s easy.
It also allows you to inspect your tires and suspension.
It’s not a bad idea to torque your tow vehicle’s wheels while you’re at it. Make sure the torque wrench can handle high torque.
This is the one I use (yes, an affiliate link so you know what I mean):

It’s easy to find the proper torque for your RV’s lug nuts in the manual. This requires keeping a torque wrench in your tool arsenal.
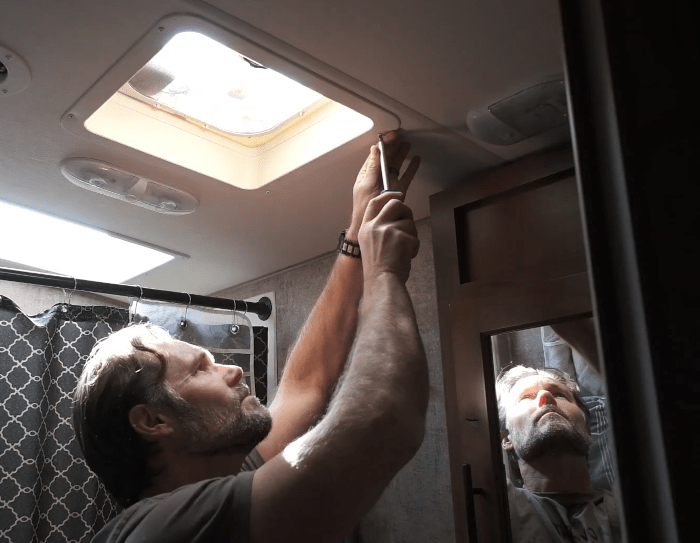
Tighten All Exposed Screws And Bolts
How many times have people stated that your RV goes through an earthquake every time you drive?
And of course, you respond with, “Tell me something I don’t know!”
Nonetheless, the result is the loosening of screws, bolts, plumbing, and your grip on life (OK, maybe not the last one).
At least once a quarter, go through and tighten:
- Every exposed bolt inside, outside, under, and on top of the rig.
- All hinges on the doors, cabinets, and hidden compartments.
- Each exposed screw head hidden throughout the interior and exterior of the RV.
- All PVC and PEX connections on the water system. Especially the P-traps. Many leaks can be prevented.
- All the exposed connections on your propane tanks and system.
- This is also a good time to check the date on your fire extinguisher, replacing it as necessary.
This is also a great time to check for any water damage in the nooks and crannies.
Detail Your RV
If you have the dough, having this professionally done is nice. I like to do the work myself (not because I enjoy it).
Trust me, I’d rather be out hiking. But it’s a good opportunity to get up close and personal with the RV’s exterior and do an inspection.
You can inspect for cracks, broken mounts, and worn-out seals and repair them as needed.
Add a coat of wax. I used to be old school about wax until I discovered Meguiar’s Hybrid ceramic spray wax.

Yes, it’s an affiliate link, but this compound is awesome! It’s changed how I detail my cars and travel trailer.
It’s so much easier and faster to apply. And it works great!
Treat Your RV’s Roof With Protectant
After detailing your travel trailer, treat the roof. There are a lot of products on the market, so do your research.
I’ve had solid luck with 303 Aerospace Protectant.
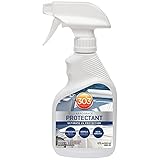
Again, an affiliate link, but it’s easy and works well. After a long day of detailing, easy application is the key!
Reseal The Seams On Your RV
If you find any seams separating or cracking, it’s time to reseal the roof seals.
The more often you move and/or the more extreme the environment, the more frequently you’ll be resealing.
I’m no pro at correcting worn-out seams, so I just re-coat over the old coating.
I agree, not the best idea, but it still works and there have been no leaks.
I use clear ProFlex RV. It works fine. I can no longer find ProFlex on Amazon, so you’ll have to do a search or shop at your local RV parts store.
How To Lubricate Schwintek Slide
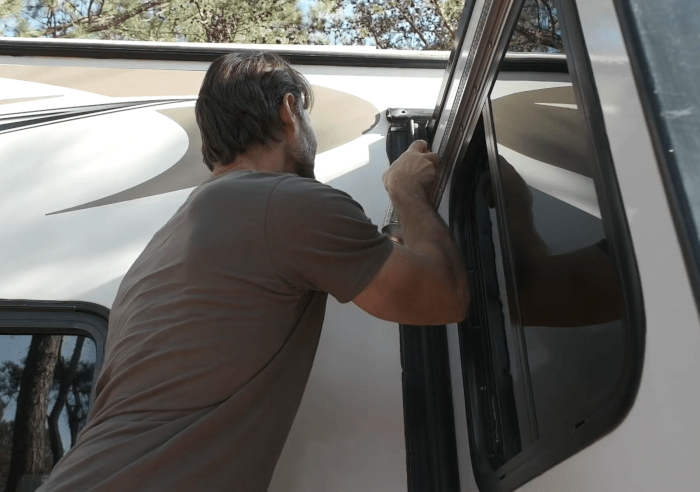
For the longest time, I was doing this incorrectly. I would just lubricate the gear track.
After finally doing some research, I learned that you have to lubricate the spur gear and the V-roller to keep them in top condition.
You can achieve this by slipping the straw from 3-In-One Slide-Out Silicone Lube behind the weather stripping on and below the gear track.
Look up a diagram on Lippert’s website to get a better understanding.
I try to do this as part of my monthly maintenance. I do it from both the outside and the inside on one of the moving days.
Overkill? Maybe, but cheap insurance since we put our slide in and out a lot more than average.
Conditioning The Seals On A Travel Trailer
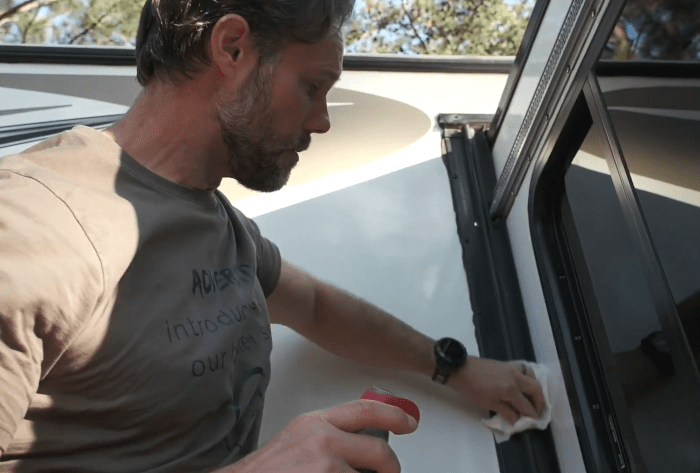
Depending on the environment we’re in, I try to clean and add 3-IN-ONE RVcare Rubber Seal Conditioner to all the weather stripping every 4-6 weeks.

It keeps the stripping functioning well and prevents rotting. And if you’re like us, you’re in the dusty desert heat a lot.
Vacuum The RV Systems

What do I mean by this? Vacuum in, around, and inside things like:
- Basement storage
- In and around the battery compartment.
- The outside compartment of the hot water heater gets a lot of debris. Keep it clean.
- Under the sinks around the plumbing and water pump. While you’re at it, clean the water pump filter.
- The outside compartment of the refrigerator also gets a lot of debris. Keep it vacuumed.
- Vacuum under and around the breaker panel if you have access. It’s a good opportunity to minimize dust and check for frayed wires.
- On occasion, remove the panel to get under the shower and vacuum that area if it’s accessible. You can also check for dry rot or water damage.
- Remove the access panel to the heater and vacuum out the dust and cobwebs.
- Your air conditioning system has panel filters on the ceiling unit. Remove them and suck the dust off.
All of the above actions are super liberating!
Add Borax To The Black & Gray Tank
Try not to get caught up in all the black tank additives. Borax is a cheap, readily available softener.
Raise the pH of the tank and everything you “plop” into it becomes more miscible and softer. This makes for an easy exit.
If you have a background in chemistry, you know what I’m talking about.
Dump regularly, and use the clean out when it’s available at a dump station (unless there’s a line behind you).
That’s all you have to do. Yes, this applies to both the black water tank and the grey water tank.
Rose will kick me, but I never measure the amount I add, so it’s always random. But it always works. Enough said!
Oh, and a note on toilet paper. Instead of putting the used portion into the black tank, keep a flip-top trash can next to the toilet for disposal.
It doesn’t stink and prevents so many black tank problems.
And best of all, you don’t have to use the “punch your finger through it” RV toilet paper!
Defrost & Clean The Freezer and Refrigerator
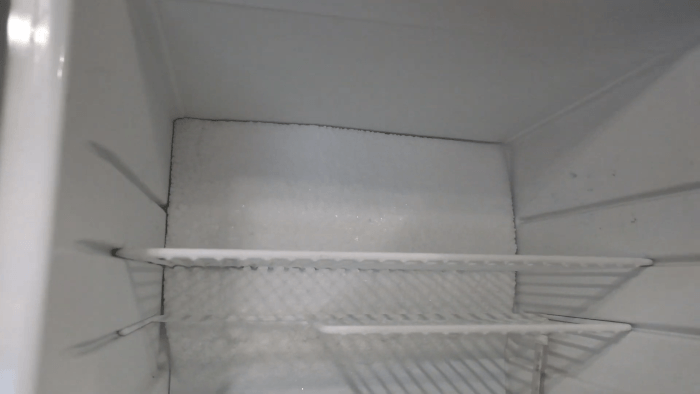
I only do this on an annual basis.
Throw some towels on the floor, remove the food, turn it off, and leave the doors open.
Once all the ice has melted, clean out the refrigerator with a mild detergent.
This makes it look nice and minimizes odors.
Sanitize Your Freshwater Tank
I do this every six months at the minimum.
I will also sanitize if our fresh water tank is exposed to bad water.
I lay out the steps in our article How To Sanitize RV Water Tank.
Check The Anode In The Hot Water Heater
If you don’t have an instant hot water heater and you use it a lot, drain it every six months and remove the anode rod.
If it’s grossly deteriorated, replace it. If not, put it back in the tank.
While you have it removed, spray the tank out with a tank rinser for obvious reasons.


Pay special attention to order the correct anode rod for your water heater. It’s most likely a Suburban water heater.
Clean The Air Conditioner
If nothing else, as mentioned earlier, remove the air filter from the air conditioner and vacuum it until it’s dust-free.
Also, inspect the interior of the air conditioner. If you see any signs of damage, have it professionally serviced.
Not Sure What You Need For Your RV?
Wrapping Up The Ultimate RV Maintenance Checklist

This RV maintenance list seems overwhelming, but nothing on here takes long (except maybe the bearings).
In time, you’ll develop systems and timelines that work for you to make your RV preventative maintenance a breeze, preventing potential problems!
If this article applies to your travel trailer, please don’t forget the routine maintenance for your tow vehicle. It’s a huge part of the equation!
Keep in mind, that a well-maintained RV holds its value a lot better and improves the lifespan of your RV.
How do you maintain proper maintenance of your RV?
Meet the author.
We appreciate any help we can get to bring you great content. Donate or buy us a coffee on our Ko-Fi site.